Upgrading M3D printer with heatbed
- 3. Apr. 2018
- 4 Min. Lesezeit
The M3D is an inexpensive 3D printer. While it does print, I very quickly found out that it had it's limitations, one of them being the fact that it didn't have a heated print bed. Heated print beds are in my opinion essential for a good quality print, as they ensure a good adhesion of the plastic to the print bed and minimize the warpage of the part. They are also convenient as they avoid usage BuildTak which is an expensive self adhesive print surface ensuring a good adhesion for cold print beds. Heated beds allow printing of more advanced materials such as ABS or Nylon. While supposedly supported, it was absolutely impossible to print anything out of ABS or Nylon with the M3D due to premature delamination and warpage. The printer is ideal for PLA but for Engineering applications, it's not an appropriate choice in most cases.
So, I decided to upgrade my commercial 3D printer with a heated print bed. Everything, from electronics to hardware and even the programming is made from scratch. I never worked on electronics prior to that and learned everything on the fly. Yet, the theoretical knowledge dispensed during my studies came in quite handy.
One major constraint is the fact that the print bed will have to fit in the existing structure and therefore be of the same thickness and shape than the existing one. An additional challenge is the fact that the existing base is made of plastic and not meant to withstand heat. The heat bed must therefore be thermally insulated and only diffuse heat on the print surface. Last challenge is to incorporate the wiring into the existing structure and allow for a separate temperature regulation and power supply.

Build plate before upgrade The BuildTak surface wears down with every print.
The heated print bed I designed is a multi-layer sandwich. On top, a 1 mm stainless steel sheet. At the bottom, a FR4 composite board cut to the same shape as the existing bed. In between, a Nichrome heat wire electrically isolated by heat resistant Kapton tape on the stainless steel side and glass fiber and aluminum foil insulation material on the other side. All of this is held together by small crimping ferrules used as rivets. A small thermocouple is placed between the stainless steel plate and the insulation for temperature reading.


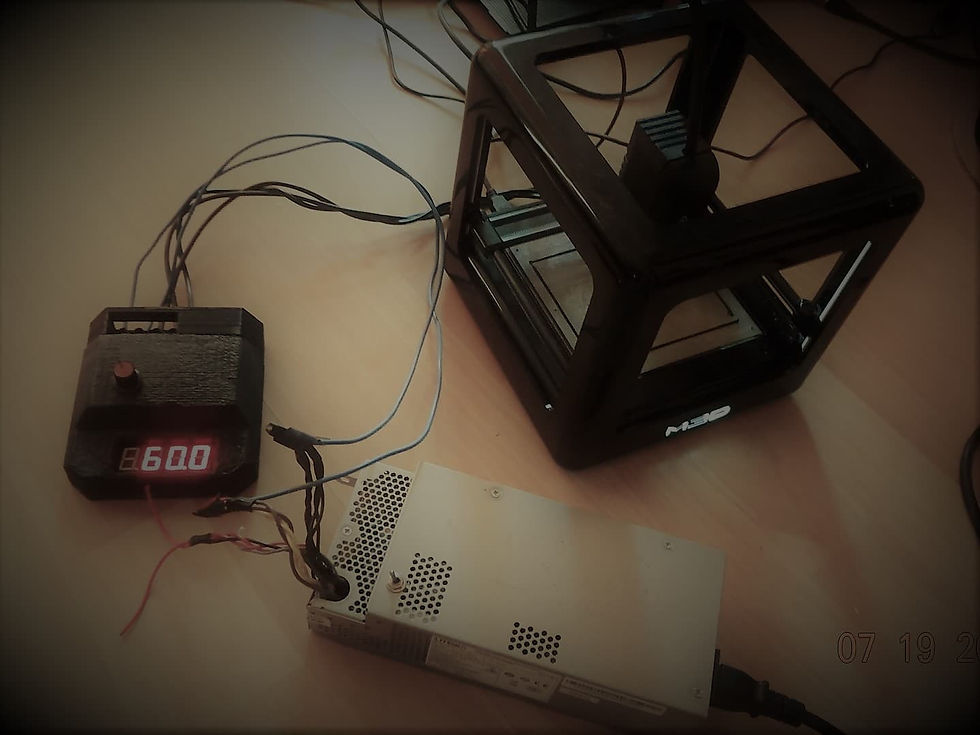
To regulate the temperature, I created my own prototype circuit board. The whole is controlled by an Arduino Nano. I programmed a PID regulation from scratch in C++ (I am actually only using PI for this application). Interestingly, I found out that the temperature reading was quite jumpy. This seems to be a common issue on Arduinos. The power supply stability is essential but I figured out a way to get surprisingly accurate and constant results even with an unstable power source. Rather than doing an average of 5 reading and dismissing the first reading like is being suggested on many DIY forums, I found that using an exponential moving average like commonly used in stock market analysis was somewhat quicker and working extremely well. The temperature reading is still very responsive as it corrects in less than a second. Temperature regulation was constant with about 0.2 degree Celsius variation throughout the print.


When opening the printer to fit everything, I realized how poorly it was designed. Sorry, it might be my German side speaking but quality is essential. Designs must be robust. Choice of materials for wear and tear are essential. You cannot have a m3 threaded rod going through a plastic part to move the print head up and down. Even if it is Nylon which I cannot say for certain... The thread is way too thin. If the plastic part wears out, and it will eventually, the whole printer can go to the trash. Big no no. The motors are under-dimensioned. The slightest resistance jumps a step and the print shifts. The carbon rod fixation principle holds the rob in place, but you better not look at it for too long as it might get scared, lose balance and fall apart... Also one motor for all 4 rods and a puny little belt to drive them all. It is a pain to put that back in place... while it works, it is not a robust design as a little backlash can never be avoided. Another thing, the filament is not pushed against the extruder wheel. No spring mechanism of any sort. I guess you get what you pay for clearly applies here. Any variation in the thickness of the filament will prevent from extruding material and the print fails...


I must admit some other things were quite ingenious. I like how the base plate is perforated all over to improve cooling during injection molding and minimize warpage. A flat and sturdy base plate is essential. On another hand, now that I think about it, a good old honeycomb structure on the backside would have yielded similar results and saved minimum 20% material... Ach nein, enough German for today. What is important is that now, my printer has a heated bed and I don't ever have to buy that expensive BuildTak material required for cold bed printing. I can print more advanced materials and I had a very instructive and fun DIY project.


Kommentare